
Assembly Guide
Before You Begin
[edit | edit source]Before assembling a Dipstick, make sure you have all the parts necessary. For the bill of materials, see BOM.
Assembly Instructions
[edit | edit source]Overall this should take under an hour.
Notes:
Parts
[edit | edit source]
3D printed parts
[edit | edit source]- Capstan
- Capstan Handle
- Capstan Cap
- Tensioning Cap
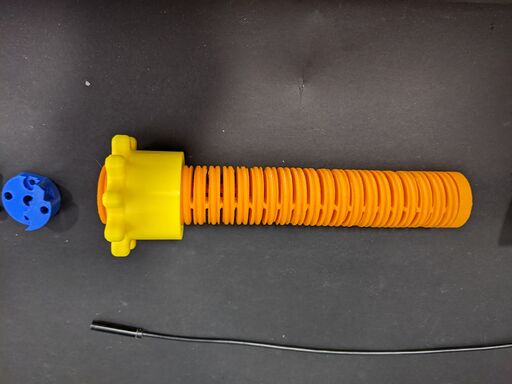
- Flexible spine
- Camera Clamp Body
- Camera Clamp Swing Arm
Hardware
- M4x10mm bolt x 6
- M4x16mm bolt x 1
- M4x10mm Thumb screw x 2
- M4x40mm axle bolt x 1
- 1/4"-20 screw x 1
Additional parts
- 1.25" Diameter PVC tube
- Endoscope
- 105" 1mm diameter Dyneema cord
- Phone mount
Instructions
[edit | edit source]- Twist the tensioning cap onto the flexible spine, leave it at the tip.
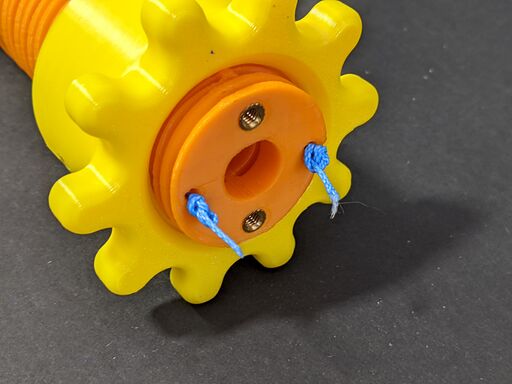
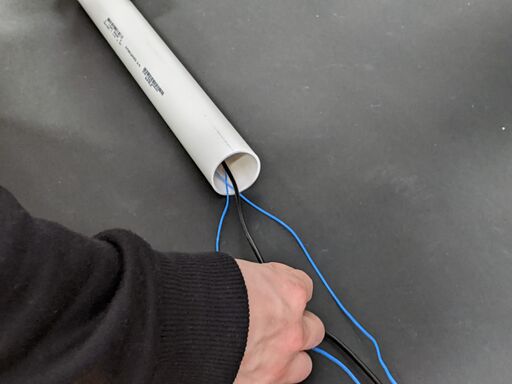
- From the bottom, thread the Dyneema cord through the two holes of the flexible spine.
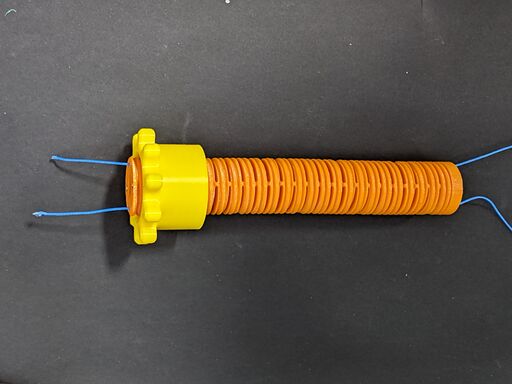
- Tie a double or triple knot at each end of the Dyneema cord to keep it in place.
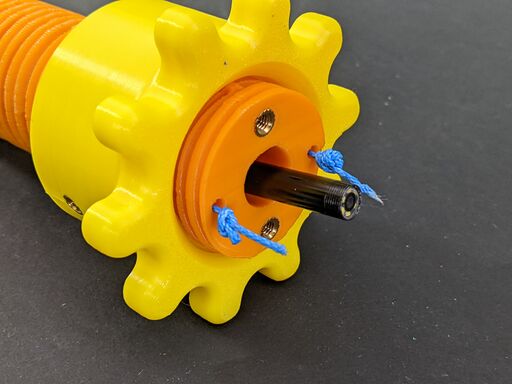
- Insert the endoscope into the flexible spine, from bottom to top. Keep the camera sticking out by an inch.
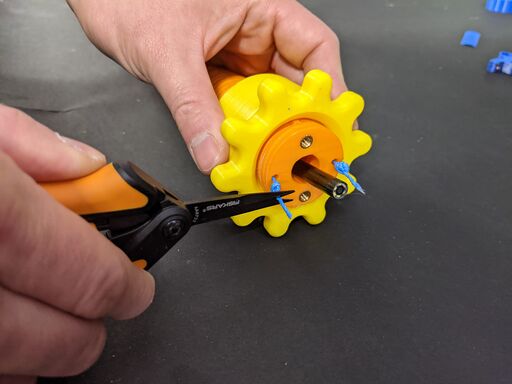
- Snip excess Dyneema cord but leave 2mm so the knots stay tied.
- Attach the camera clamp body to the top of the flexible spine using one M4x10mm bolt.
- Use a M4x16mm bolt to attach both the camera clamp swing arm and clamp body to the flexible spine.
- Hold the endoscope flush or 1mm inset using the camera clamp swing arm and screw in place using a M4x10mm bolt.

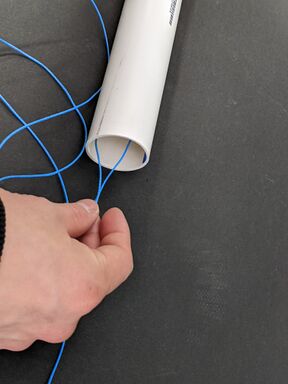
- Drop the loop end of the Dynema cord and the USB end of the endoscope down the top of the PVC tube, the end with the tab.
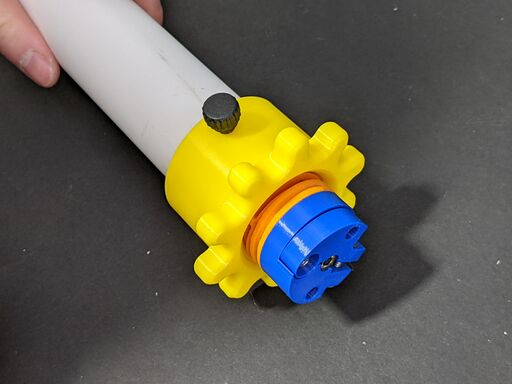
- Line the flat side of the flexible spine with the tab and insert into the tube. Hold the threaded collar in place using a thumb screw.
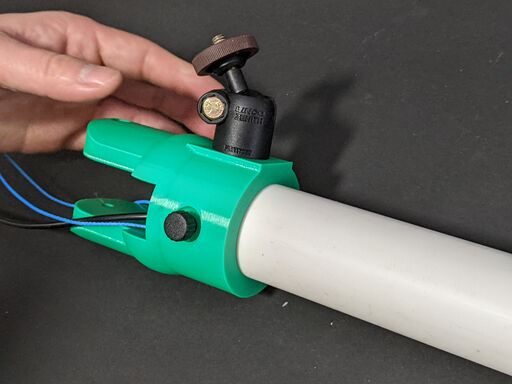
- Take the capstan cap and insert the 1/4"-20 screw from the inside of the flat section.
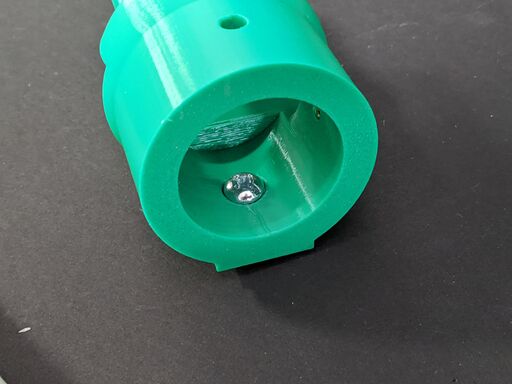 .
. 
- Take the phone mount and attach it to the screw. Use a screwdriver through the opposite side to tighten.
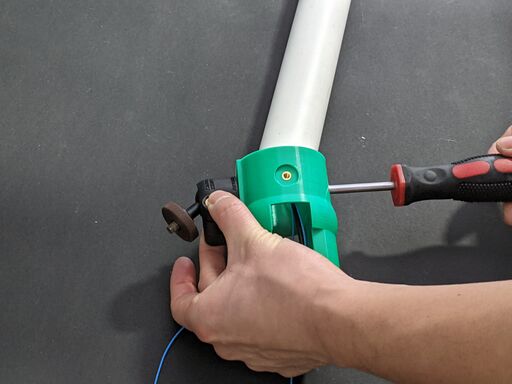
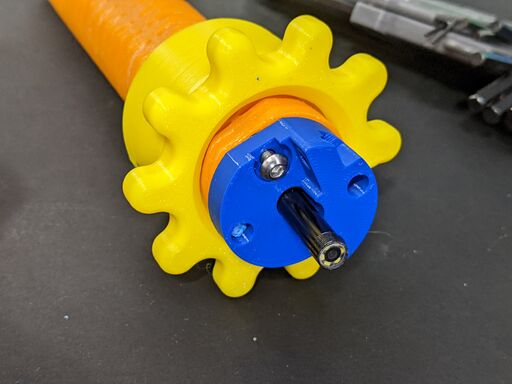
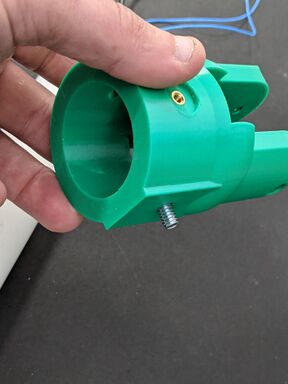
- Attach the capstan cap to the bottom of the PVC tube and hold in place using a thumb screw.
- Loop the Dyneema cord around the capstan, then add subsequent loops alternating from the left and right side to keep the capstan centered. Make 5 loops total (4 additional loops from the initial), and ensure they overlap minimally.
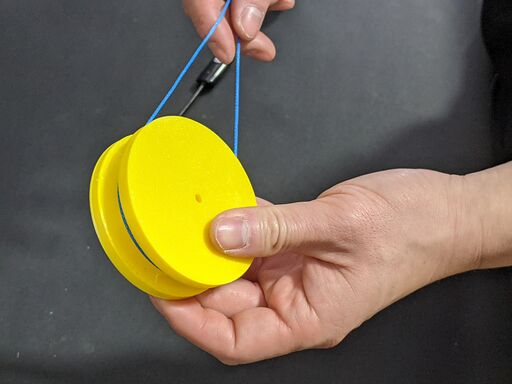
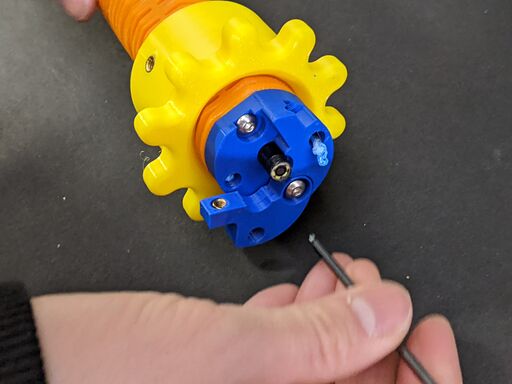
- Slide the capstan handle onto the capstan, and secure using 4 M4x10mm bolts.
- Slide the capstan into the capstan cap, and secure using 1 M4x40mm bolt.
- To deploy, turn the tensioning cap until turning the capstan handle 180º corresponds to 180º range of motion of the endoscope.


